Case Creation Wizard is the best tool for rapid case creation and problem resolution.
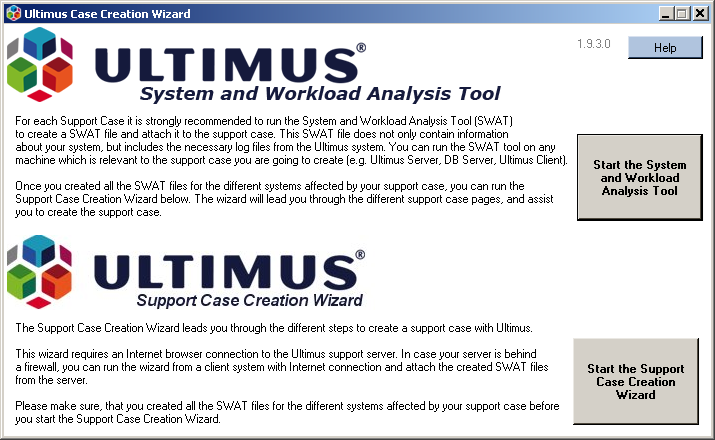
The Ultimus Support Case Creation Wizard is a program which is executed on a customer computer to submit a Support Case into the Ultimus Support Case portal. It succeeds the former web form based case creation process with an easier, automated tool to submit a case.
Part of the Ultimus Support Case Creation Wizard (CCW) is the Ultimus System and Workload Analysis Tool (SWAT Tool), which collects configuration data about an Ultimus installation. This configuration data is automatically added to a support case and allows Ultimus support personnel to answer with direct steps for problem identification and resolution instead of asking for more required information.
The following process map displays the underlying steps between the CCW Tool and the System and Workload Analysis Tool:
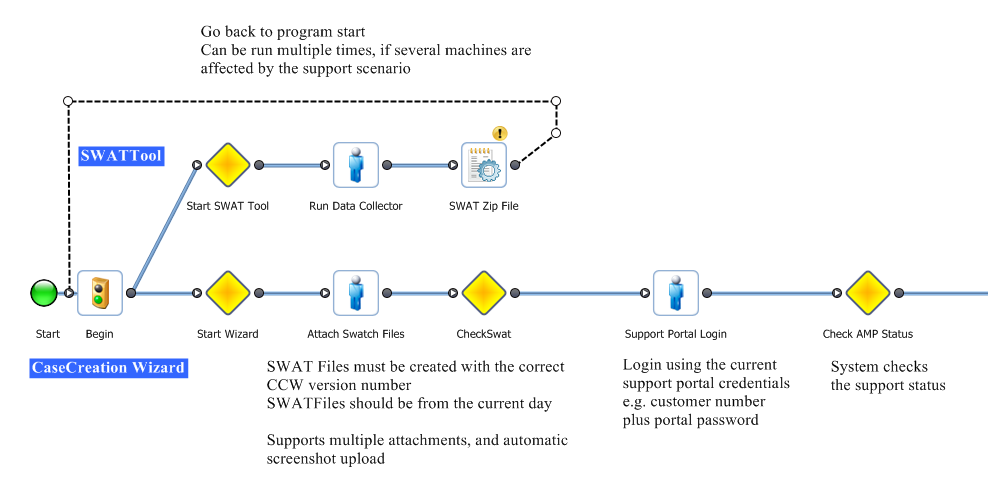
The first step within the Case Creation Wizard is to attach the SWAT Files from all in the case involved machines. The SWATTool can be run directly from the Case Creation Wizard, or can be run separately, .e.g. if a case is created on the BPM Server with the Case Creation Wizard running on the BPM Server.
For more detailed information of this step, see the Attaching Files to a Case help section.
With the SWAT Files the CCW will create a case in the Ultimus Case Management System (CMS), will attach all specified files and will update the environment information.
The SWAT Tool and the Case Creation Wizard consist of only one Exe file. It can be downloaded here.
It is recommended to copy the exe file into a network share from where all machines can access it.
The swat files are stored in a subdirectory of the application path with the current date.
If for example the executeable is installed in \\filesserver\UltimusCCW\UltimusCaseCreationWitard.exe all swat files will be stored in a subdirectory with todays date, e.g. 22-09-2014\.
The swat file itself is a zip files which contains more files, e.g. windows log files, Ultimus log files, Ultimus server configuration information etc. The swat zip file is named with the customer number and the machine identifier, e.g. USWAT_1234_WIN2K3R2EE_BPMServer.zip.
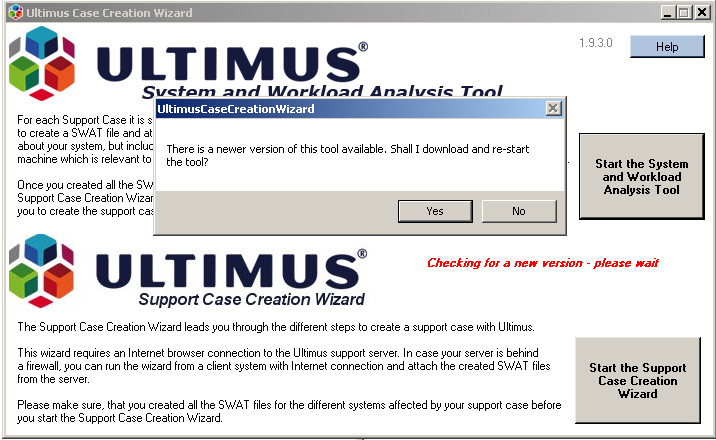
The Case CreationWizard has an Autoupdate feature. When started, it will look for a newer version. If a newer version is available, it is strongly advised to let the tool update itself. A Case with an outdated SWAT File cannot be submitted, and the SWAT Tool datacollector must be re-run with the latest version.
During an autoupdate the system will create a backup copy of the old version in a .bak file.
The System and Workload Analysis Tool is started:
Remark: as stated in the Installation and Configuration section, it is highly recommended to run the Swat Tool from a network share, which is accessible from the to be tested machines as well from the Case Creation Wizard. This way you can use the auto update feature of the Case Creation wizard even from machines which are not connected to the internet, by starting the Case Creation wizard from the machine with internet connection before collecting data files. Furthermore using a network share insures, that all Swat Files are stored in a common directory and attached to the case automatically, when running the Case Creation Wizard.
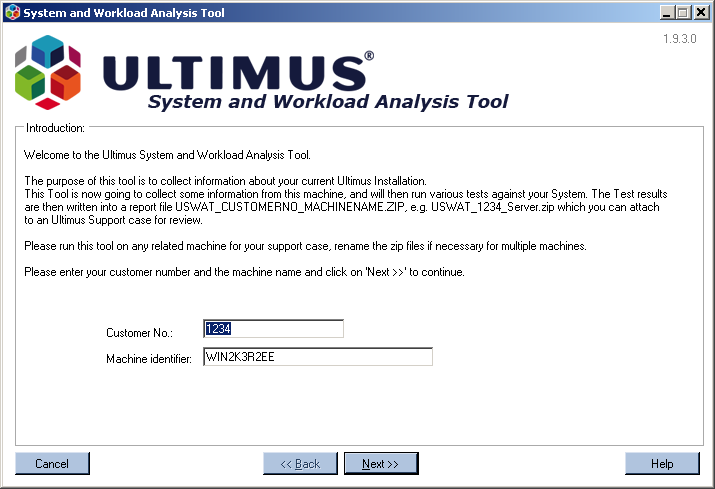
The Swat Tool identifies your Ultimus customer number and the machine identifier. In case Ultimus is not installed on the testing machine, please enter the correct customer number.
The swat file itself is a zip files which contains more files, e.g. windows log files, Ultimus log files, Ultimus server configuration information etc. The swat zip file is named with the customer number and the machine identifier, e.g. USWAT_1234_WIN2K3R2EE_BPMServer.zip.
It is mandatory to create a BPM Server swat file for each case you create, even if the case is client machine related.
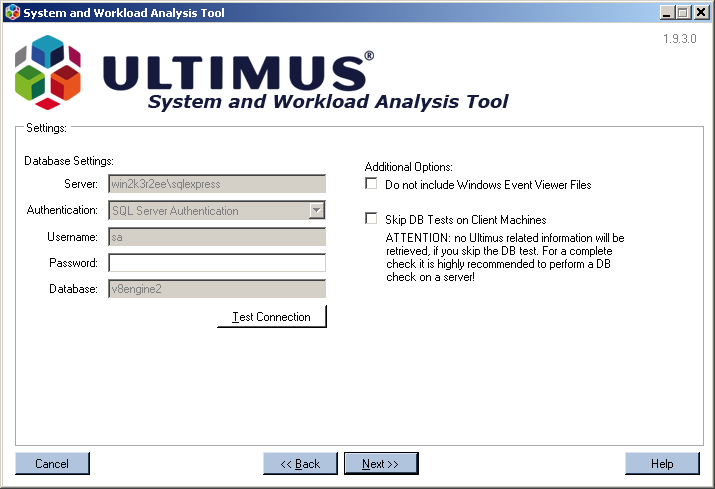
The Swat Tool is asking for your DB password. The DB parameters are identified from your Ultimus installation, and are not changeable.
In case you are running the Swat Tool from a machine on which Ultimus is not installed, or from which you do not have access to your Ultimus DB, check the checkbox "Skip DB Test on Client Machine".
Please do not skip the DB tests on the BPM Server as it might include vital information for Ultimus Support personnel to help you with your case. If you are running the Swat Tool from a server with a very large DB, it might shorten the execution time of the tool.
In case you do not want to deliver the Windows event log, you can check the checkbox that says "Do not include Windows Event Viewer Files".
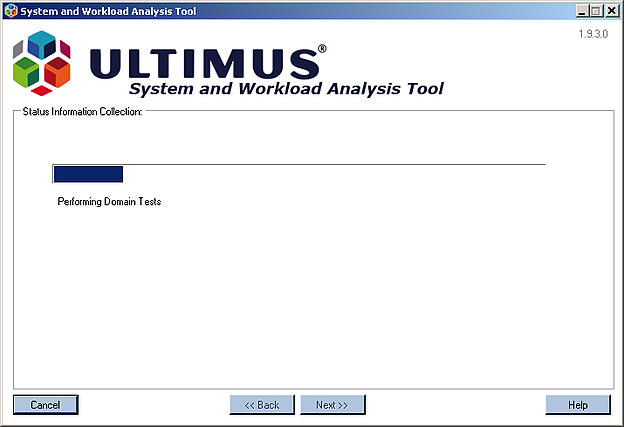
Once the SWAT Tool is running, a progress bar shows all activity during that period. The progress bar does not count to 100%, but instead has several sub steps counting to 100% on their own. Some tests might cause the progress bar to halt for several seconds.
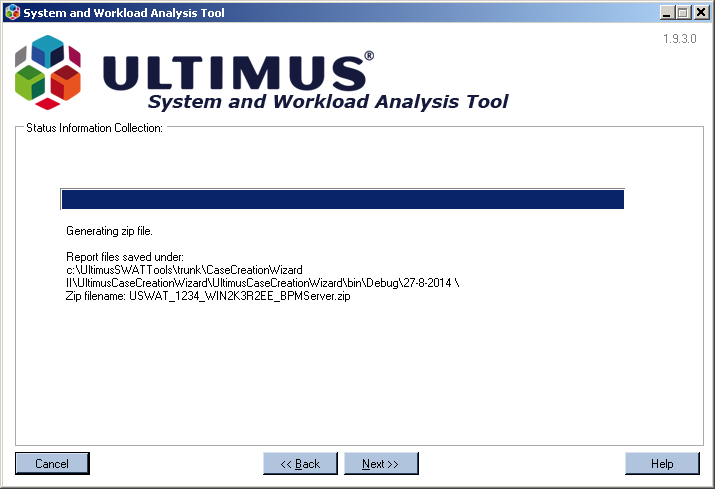
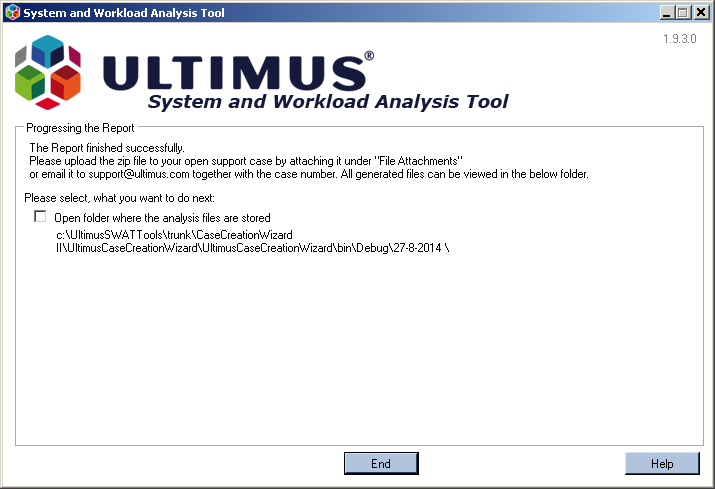
Once the Swat Tool is finished, it shows a screen with the file location and filename of the created Swat zip file.
The swat file itself is a zip files which contains more files, e.g. windows log files, Ultimus log files, Ultimus server configuration information etc. The swat zip file is named with the customer number and the machine identifier, e.g. USWAT_1234_WIN2K3R2EE_BPMServer.zip.
On the last page, the SWAT offers the option to open the folder in which the Swat file is stored, upon finishing the Swat Tool. Check the appropriate checkbox and click on the End button, and a Windows Explorer window will open with the folder.
The swat file itself is a zip file, which contains more files, e.g. windows log files, Ultimus log files, Ultimus server configuration information etc. The swat zip file is named with the customer number and the machine identifier, e.g. USWAT_1234_WIN2K3R2EE_BPMServer.zip.
Use the buttons to proceed to the next page.

The attached file dialog is one of the most important during the case creation process.
If you run the Case Creation wizard as recommended from a common accessible network share from which you run the Swat Tool data collector before, all related Swat files are added to the case automatically. Otherwise, use the Add File button to add files via a file directory dialog. You can use a drag and drop operation into the list box showing all files as well.
Files added to the Ultimus support site can only be up to 10MB large. Larger files should be transmitted via ftp or cloud storage, e.g. OneDrive, and a link provide in the case description.
In case you want to run the Swat Tool Analysis tool directly from this dialog, click on the Start the System and Workload Analysis Tool button. A new window with Swat Tool will open. Once the Swat Tool application is closed, this dialog will open up again. Use the Refresh list button to add the created Swat File to the case.
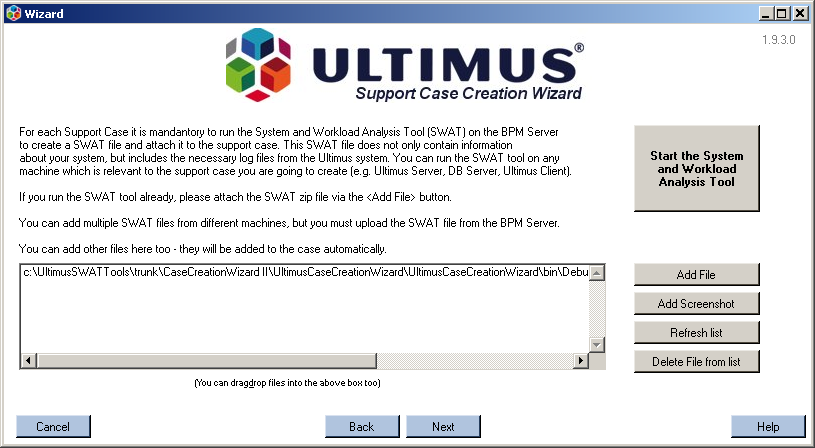
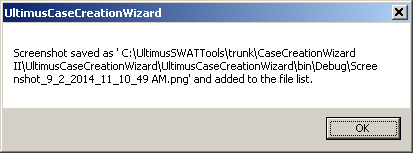
The Add Screenshot button can be used to attach a screenshot directly to the case. Prepare a screenshot with the Print Screen keyboard button and click on the Add Screenshot-Button. The system will store the screenshot in a file with the name Screenshot_currentdate_currenttime.png in the application folder.
The Refresh button can be used to attach files automatically to the case, if you run the Swat Tool directly from this dialog by clicking on the Start the System and Workload Analysis Tool-Button.
The Delete file from list button can be used to delete files from the list of attached files. Note: all Swat files in the directory of the current date will be uploaded automatically to the case, regardless of if they are in the list or not. In case you want to omit a file, please delete this via Windows Explorer from the folder.
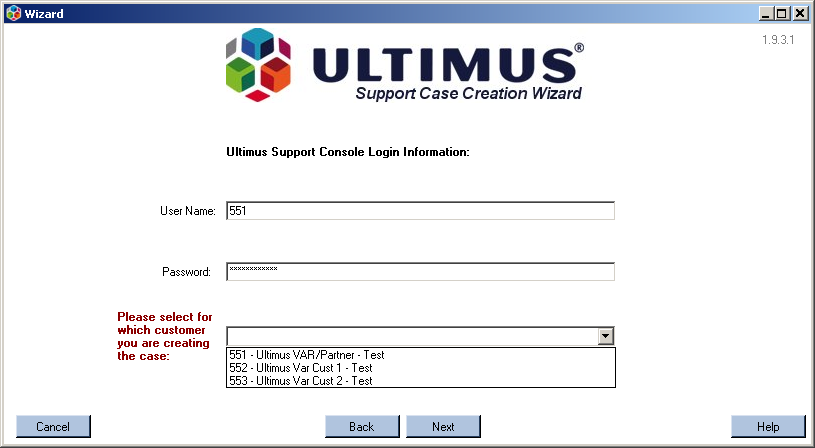
Log in with your Ultimus Support credentials. If you have forgotten your password, please contact Ultimus at support@ultimus.com.
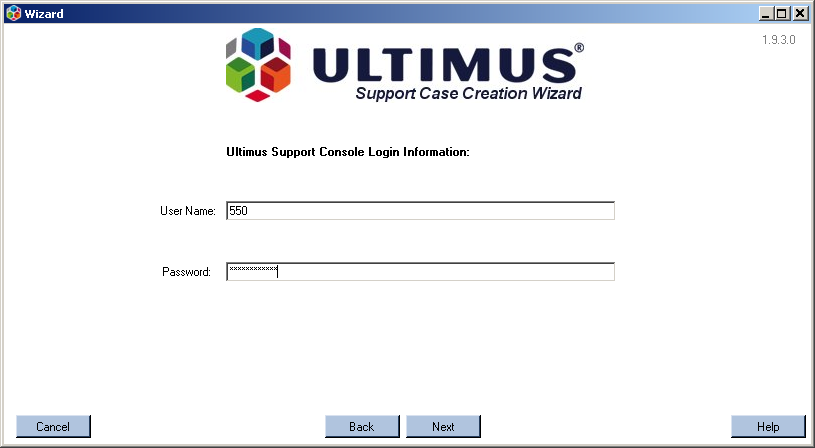
If you are a partner entering support cases on behalf of a VAR customer, a dropdown box will open up after you have logged in with your partner credentials. Here you can select the VAR from the list. If you create a case for yourself, select your ID.
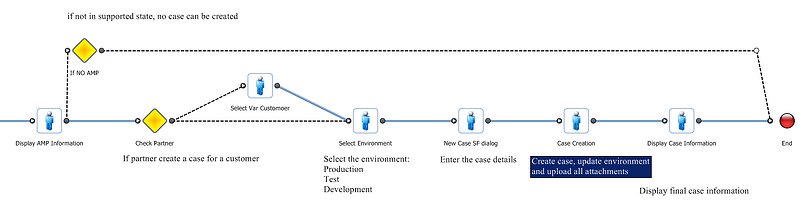
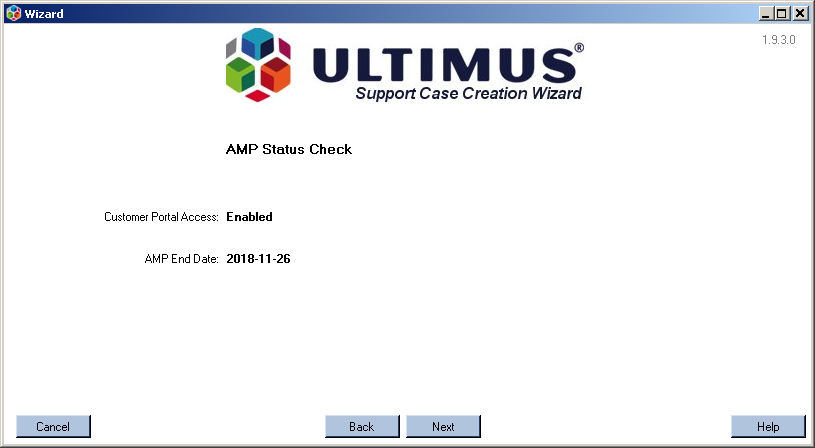
In this dialog, you can review your AMP status. If you do not have active AMP, a case cannot created, and a message will be shown. In such a case, contact your Ultimus Account Manager to receive access to the Support site again.
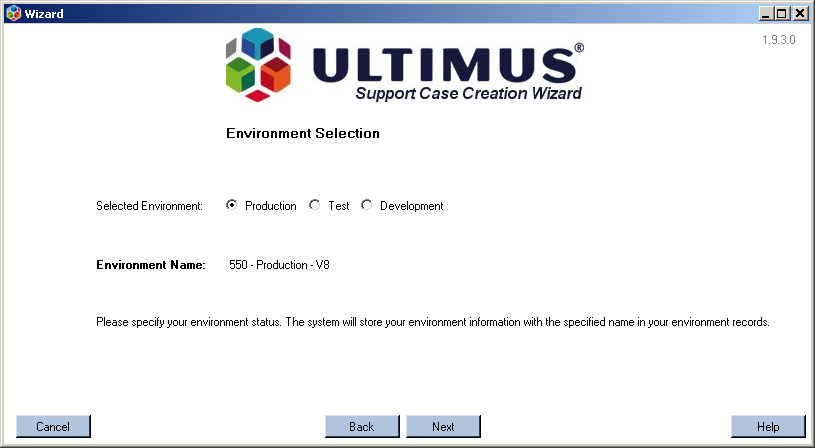
All Ultimus Support cases are linked to an environment, which tells Ultimus Support personnel about the current installation at the time of the case creation. For each Ultimus version, up to three environments are supported:
Please select the appropriate environment via the radio buttons.
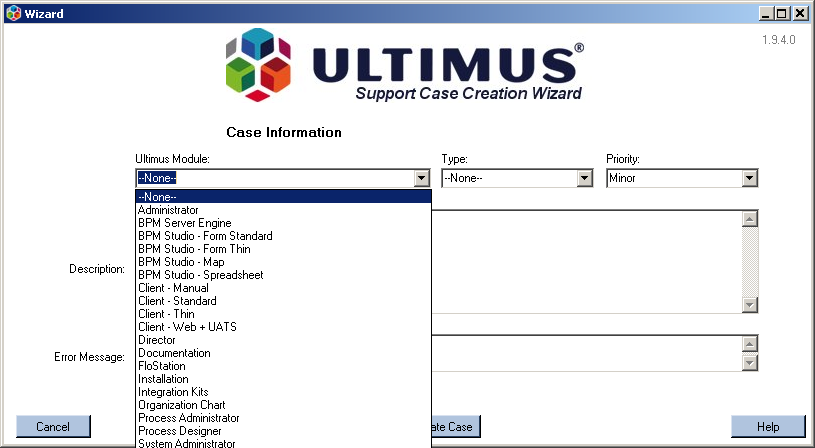
In the Case Information dialog, specify the case details.
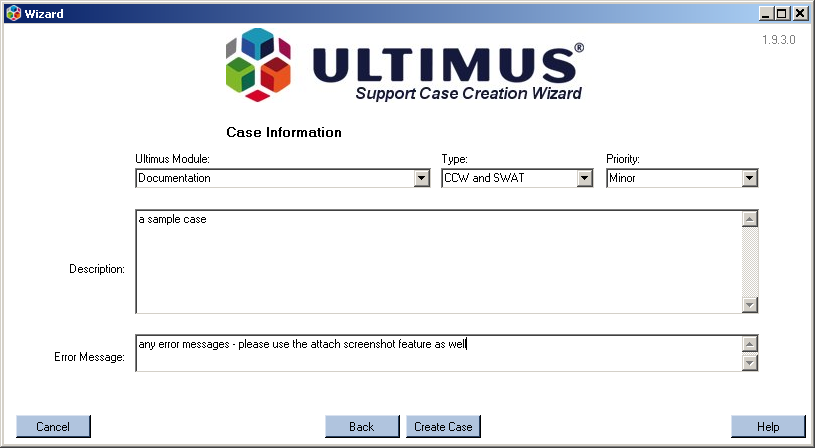
Select the Ultimus Module from the first dropdown. Be as accurate as possible. If you are unsure, select the closest description. Ultimus support can modify this selection later on.
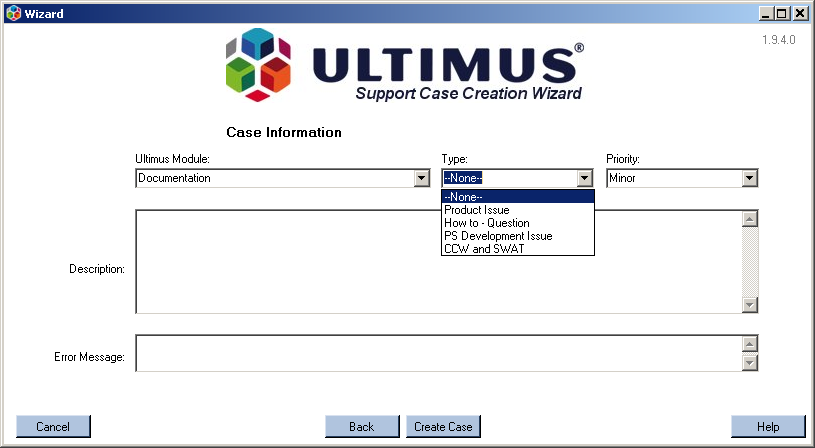
Select the case type from the next dropdown.
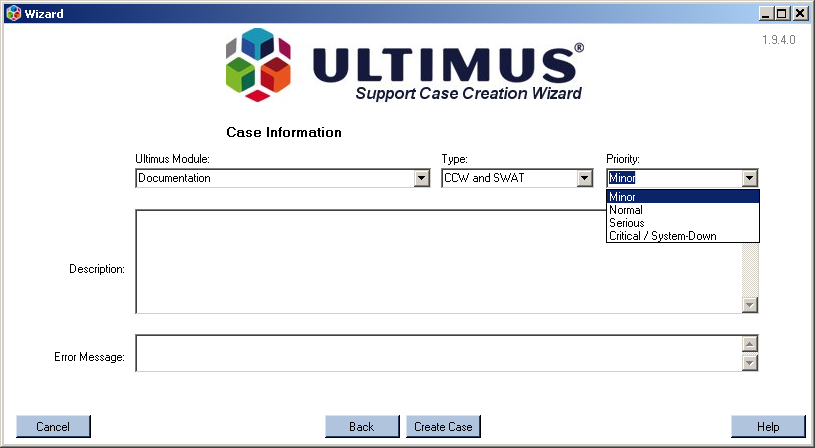
From the third dropdown menu, select the priority.
Note: Please use the Critical / System Down priority wisely. It will assign Ultimus Support personnel directly to your case for immediate action, therefore taking resources away from other cases.
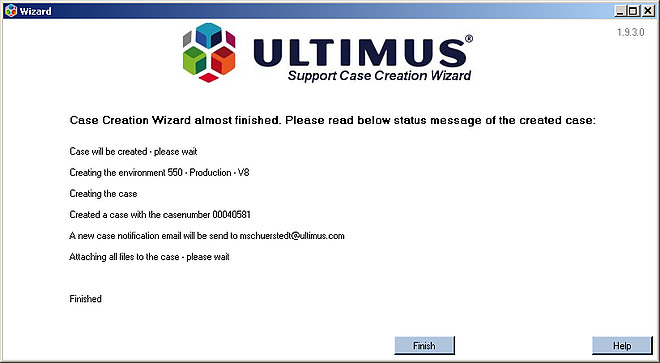
Click on the Create Case button to start the case creation. Once the case creation is started, it cannot be stopped.
In the last window, you will receive an overview of the created case.
Please note the case number to refer to the case in the future. You can then go to Support Cases section of this Support Portal to review the created case.
Identify the case you created with the Case Creation Wizard. When click on the Cases tab in the top menu, you will see a list of all your recent cases, but not the new one you created.
Select My Open Cases and click the Go button to see a list of all your open cases.
Open the case by clicking on the case number.
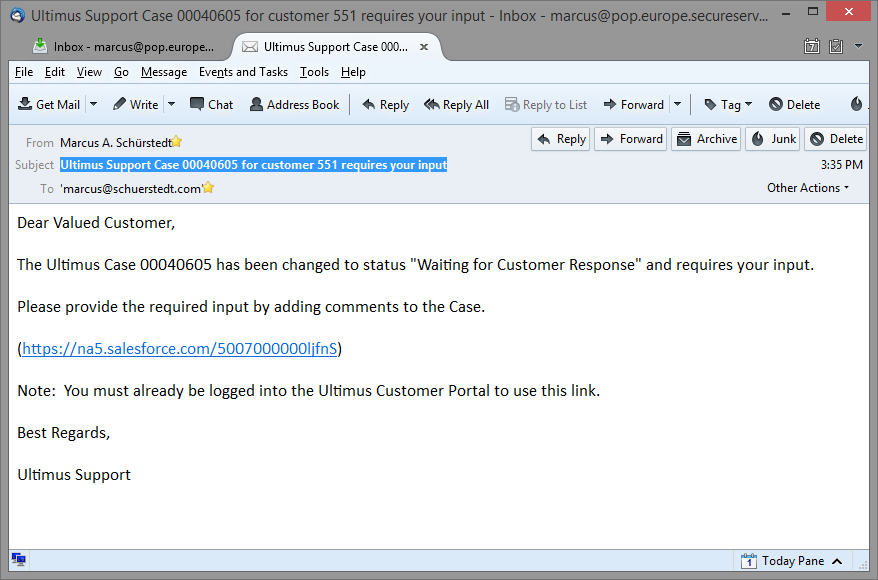
You will get an email with the subject "Ultimus Support Case 00040605 for customer 551 requires your input" from the Ultimus support person working on your case.
Please click on the link in the email, and log into the Support Portal. Scroll down to the Case Comment section.
Please click on the link in the email, and log into the Support Portal. Scroll down to the Case Comment section.
To attach a file, use the Attach File to Case button (note: screenshots must be added by saving them manually as image files, the browser cannot add screenshot via the clipboard).
Once you finish, add a new comment via the Add Comment button, so that the case status changes.
The current status should be:
Status: Waiting for Customer Response
Note: Cases which are not answered in a certain amount of time will be closed automatically by the system. You will receive a warning before the case is closed, and a notification once the case is closed. You can re-open the case at any time by adding a new Case Comment.
Once you saved the new comment, the case status changes to:
Status: In Progress
There is no further action required from your side. Ultimus Support will receive an internal notification, and will continue working on your case. You can add comments to the case at any time.